Connect AI agents
Give Claude Code, Codex, Claude Desktop, Cursor and other AI apps safe, undoable actions with AgentTx. Step by step, no coding needed.
This guide connects AgentTx to the AI app you already use. You don't need to write code: you copy a few commands, and the guide shows what you should see after each one.
When you finish, your AI can run multi-step tasks through AgentTx. If a step goes wrong, AgentTx undoes the damage, tells the AI in one plain sentence what went wrong, and the AI continues from the right place.
How it works
AI apps talk to extra tools through MCP (Model Context Protocol), a standard "plug" for AI tools. AgentTx has an MCP mode built in. Your AI app starts it in the background whenever it needs it, so you never have to run it yourself.
┌──────────────────────┐    MCP     ┌─────────────────────────────┐
│  Your AI app         │ ─────────▶ │  agenttx mcp                │
│  Claude Code, Codex, │            │  runs on your computer      │
│  Cursor, Claude      │ ◀───────── │  • undoes failed steps      │
│  Desktop, VS Code…   │  results   │  • explains errors simply   │
└──────────────────────┘            └─────────────────────────────┘
Your AI gets six new tools: begin_transaction, run_step, commit_transaction, rollback_transaction, get_transaction and list_tools.
Before you start
You need:
- A computer running macOS (Apple Silicon), Windows (64-bit) or Linux.
- One AI app, installed and signed in: Claude Code, Codex, Claude Desktop, Cursor, VS Code with GitHub Copilot, Gemini CLI or Windsurf.
- About 10 minutes.
You will type a few commands into a terminal:
| Your computer | How to open a terminal |
|---|---|
| macOS | Press ⌘ + Space, type Terminal, press Enter |
| Windows | Open Start, type PowerShell, press Enter |
| Linux | Press Ctrl + Alt + T |
To run a command, copy it from this page (use the copy button on each box), paste it into the terminal and press Enter.
Step 1 — Install AgentTx
Option A: one-line installer (recommended)
macOS or Linux — paste this into Terminal:
curl -fsSL https://agenttx.site/install.sh | shWindows — paste this into PowerShell:
irm https://agenttx.site/install.ps1 | iexThe installer downloads AgentTx, checks the file is intact, and puts it in a folder called .agenttx in your home folder. When it finishes, open a new terminal window, so the terminal can find the new program.
Option B: build from source
This takes longer (about 10 minutes the first time) but works on any computer.
- Install Rust. Follow the one-line instructions at rustup.rs, then open a new terminal.
- Install a C++ compiler:
- macOS:
xcode-select --install - Ubuntu or Debian Linux:
sudo apt-get install -y build-essential clang libclang-dev - Windows: install Visual Studio Build Tools (select Desktop development with C++) and LLVM.
- macOS:
- Build and install AgentTx:
cargo install --locked --git https://github.com/harshal050/agent-tx-protocol agenttx-protocolStep 2 — Check that AgentTx works
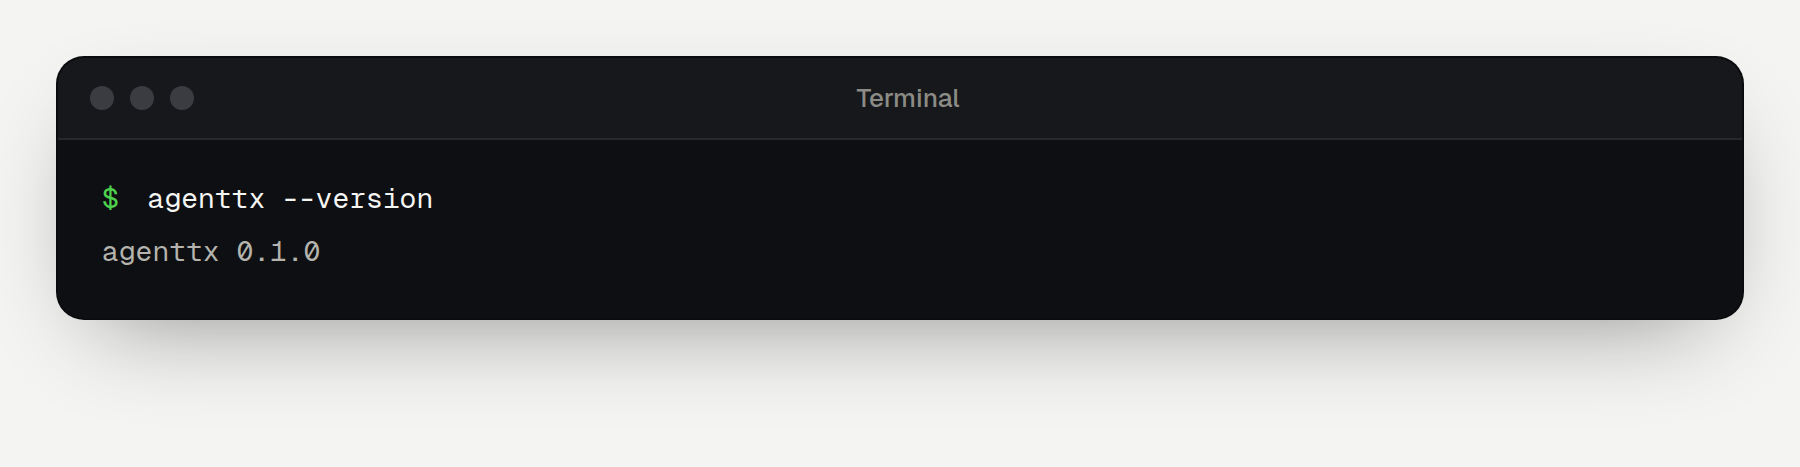
In a new terminal window, run:
agenttx --versionYou should see the version number:
Step 3 — Get your setup instructions
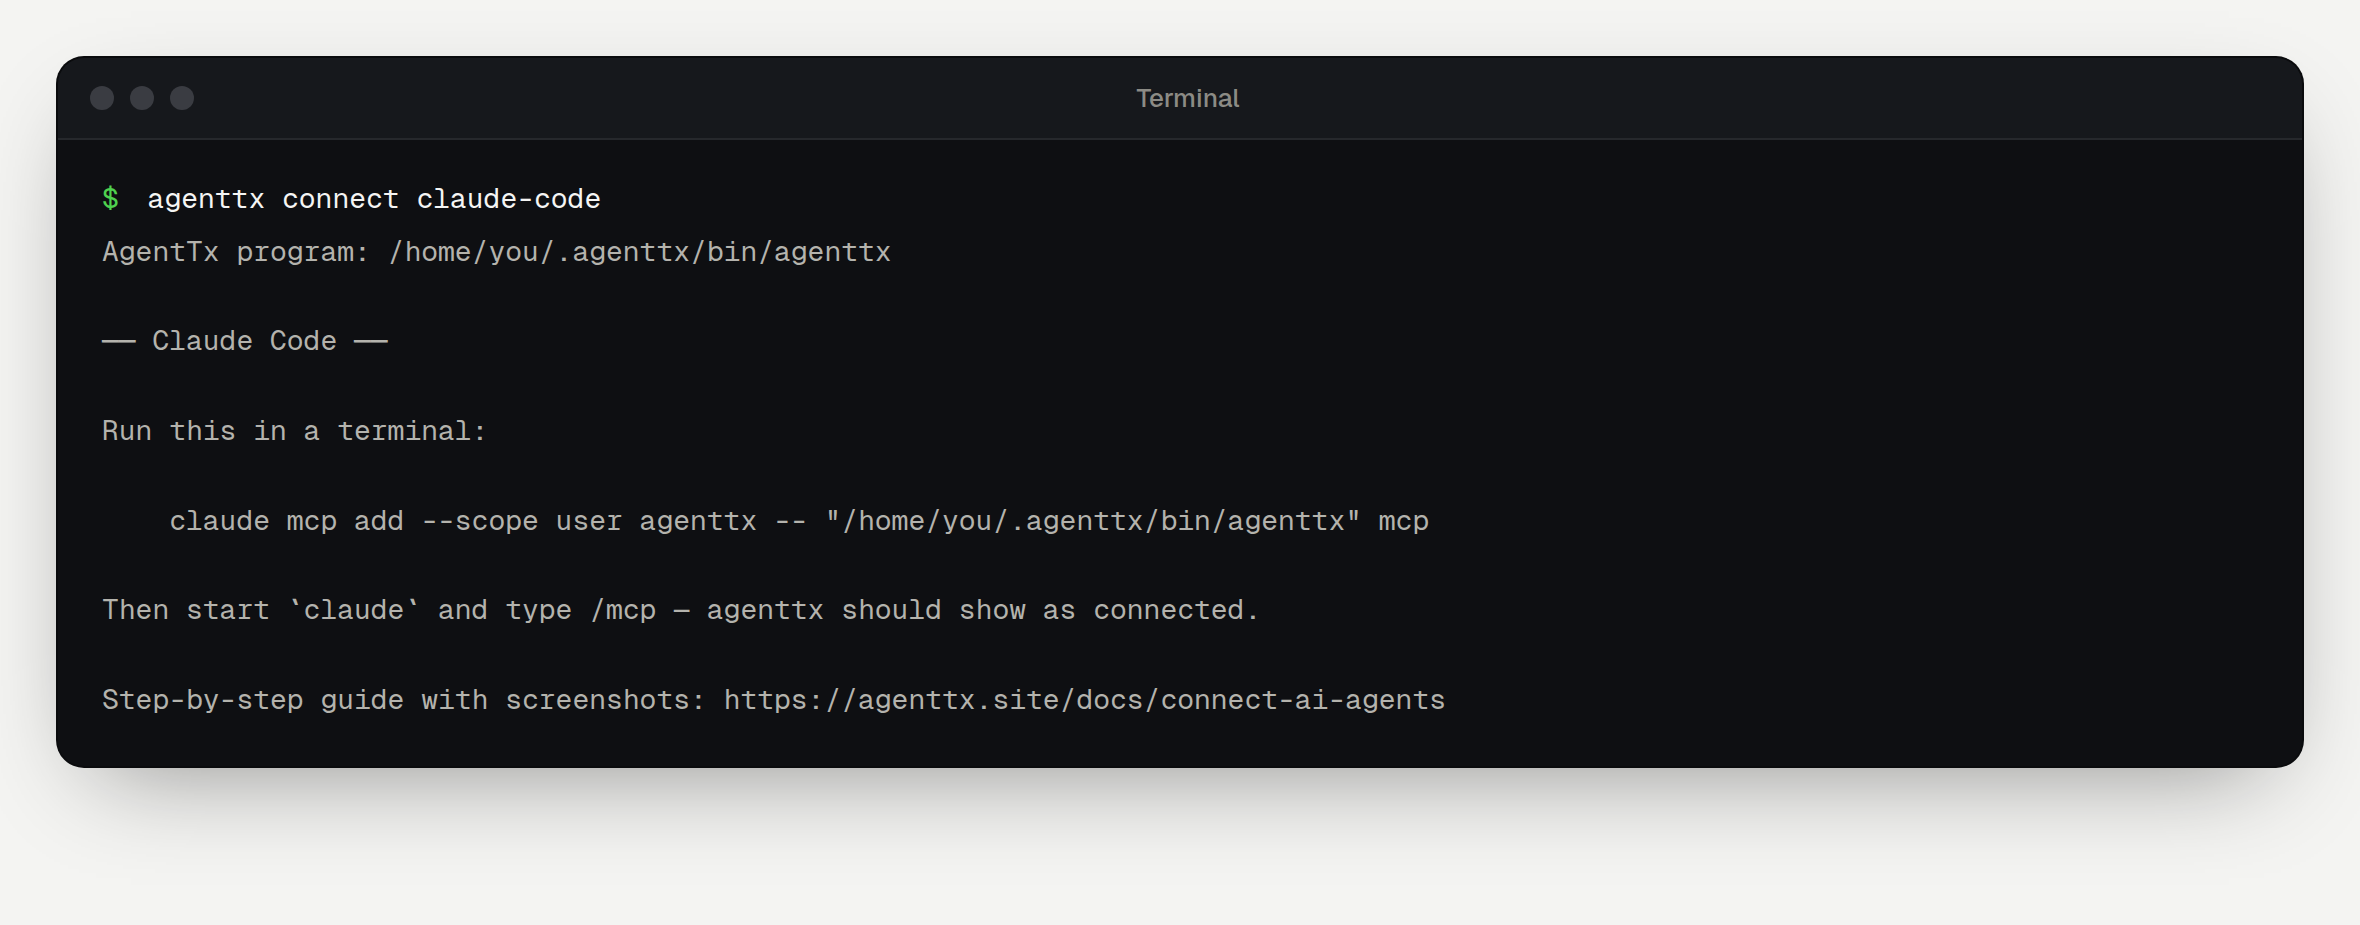
AgentTx can print the exact setup for your app, already filled in with the location of the program on your computer:
agenttx connectTo see just one app, add its name: claude-code, codex, claude-desktop, cursor, vscode, gemini or windsurf.
Step 4 — Connect your AI app
Open the page for your app and follow it from top to bottom:
| App | Kind | Guide |
|---|---|---|
| Claude Code | Terminal | Connect Claude Code |
| OpenAI Codex CLI | Terminal | Connect Codex |
| Claude Desktop | Desktop app | Connect Claude Desktop |
| Cursor | Code editor | Connect Cursor |
| VS Code, Gemini CLI, Windsurf | Editor / terminal | Connect other apps |
Step 5 — Try a safe task
Once your app is connected, follow Your first safe task. It shows AgentTx catching a mistake, undoing it and guiding the AI to the fix, with the exact messages you will see.
What AgentTx protects
AgentTx protects the actions your AI runs through AgentTx with run_step:
| Protected | Example |
|---|---|
| Saved data | kv.put, record.insert — undone if a later step fails |
| Files in the AgentTx workspace | fs.write — the old file is restored on rollback |
| Emails and webhooks | effect.stage — held back and only sent after commit_transaction |
AgentTx does not wrap your app's own built-in tools. For example, when Claude Code edits your project files directly, or Codex runs a shell command, those happen outside AgentTx. Ask the AI to use the AgentTx tools for the steps you want protected.
Where your data lives
| Folder | What's inside |
|---|---|
~/.agenttx/workspace | Files created with fs.write |
~/.agenttx/rocksdb | AgentTx's transaction database |
~/.agenttx/outbox.jsonl | Emails and webhooks released by committed transactions |
(~ is your home folder: /Users/you on macOS, C:\Users\you on Windows.)
To use a different folder, add --home <folder> after mcp in your app's settings. To let fs.write work inside a project, add --workspace <project folder>.