VS Code, Gemini CLI & Windsurf
Connect AgentTx to VS Code with GitHub Copilot, Google's Gemini CLI, Windsurf, or any other MCP-compatible app.
Every app below starts agenttx mcp for you. First install AgentTx and check that agenttx --version works (overview).
VS Code (GitHub Copilot)
Step 1 — Add AgentTx
Run this in a terminal to print a ready-made command with your full path:
agenttx connect vscodeCopy and run the code --add-mcp … line it prints. It looks like this:
code --add-mcp '{"name":"agenttx","command":"/Users/you/.agenttx/bin/agenttx","args":["mcp"]}'Step 2 — Trust and check
- Open VS Code and the Chat view, and switch to Agent mode.
- When VS Code asks whether to trust the
agenttxserver, choose Trust. - Click Configure Tools in the chat box.
agenttxand its tools should be listed and ticked.
Step 3 — Try it
Paste the first-task request into the chat.
Gemini CLI
Step 1 — Add AgentTx
gemini mcp add --scope user agenttx agenttx mcp--scope user makes AgentTx available in every folder. Leave it out to add AgentTx only to the current project.
Step 2 — Trust your folder
Gemini only turns on tools in folders you trust. Open your project folder in the terminal and start Gemini:
geminiIf Gemini asks "Do you trust the files in this folder?", choose Trust folder. You only answer this once per folder. Type /quit to leave Gemini.
Step 3 — Check the connection
gemini mcp listagenttx should show a green tick and the word Connected:
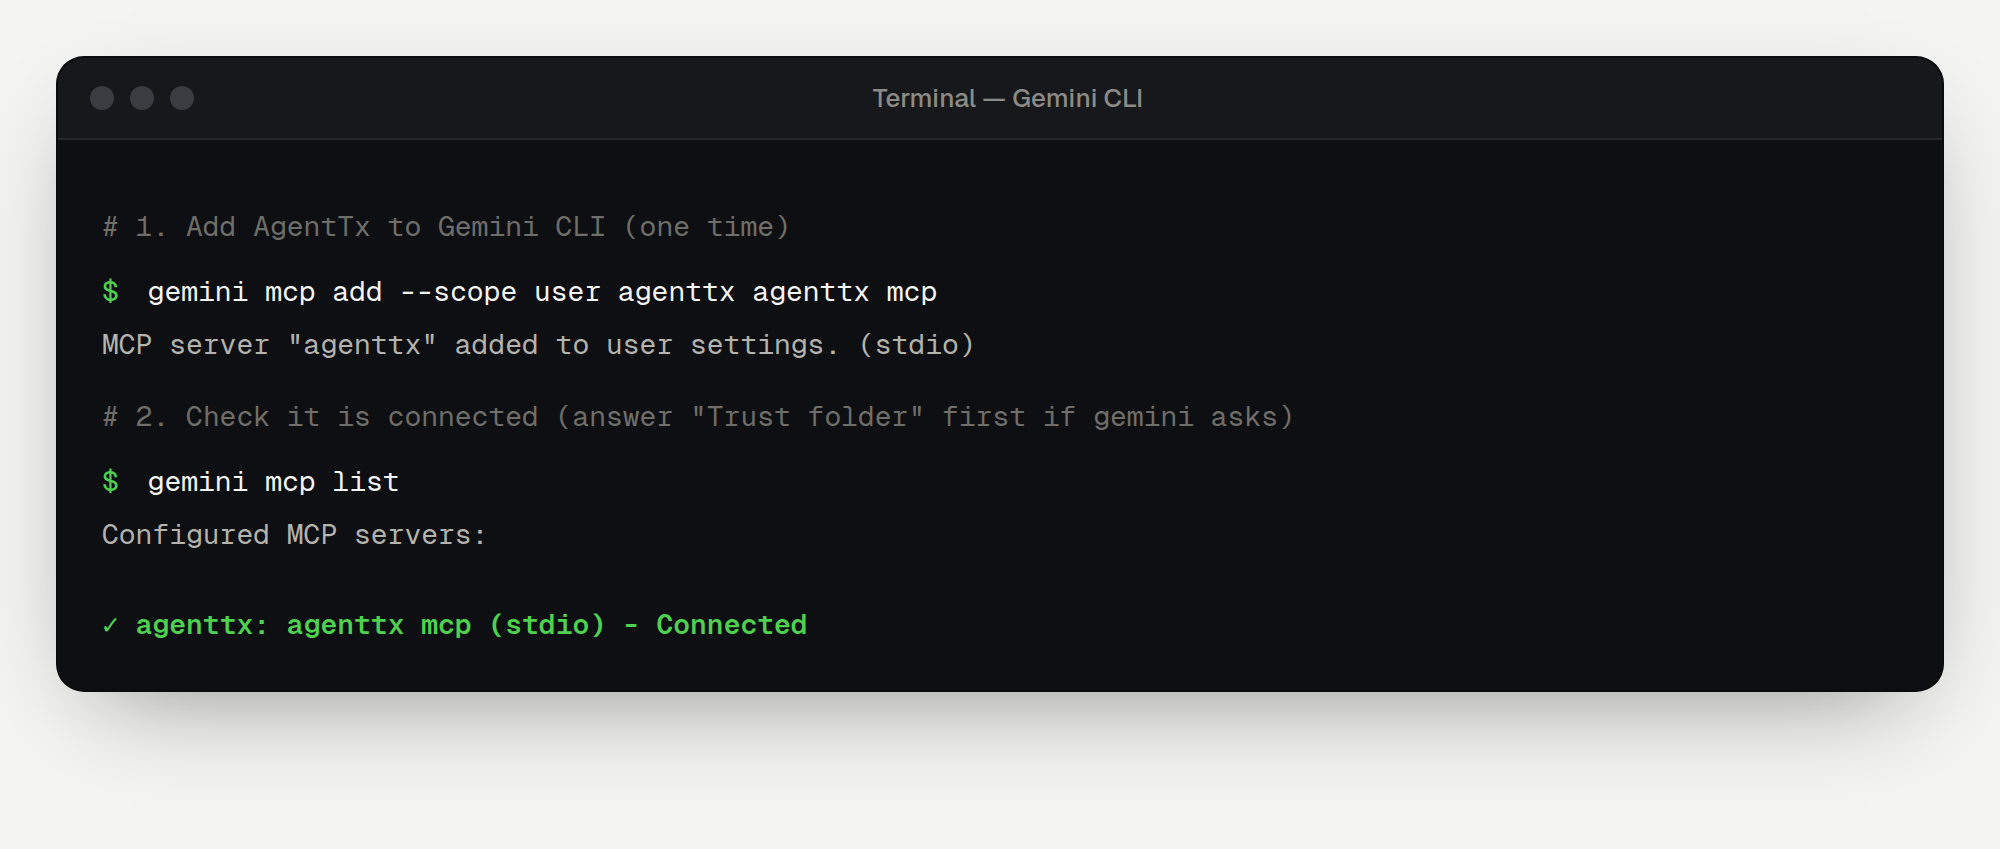
If it says Disabled instead of Connected, the folder isn't trusted yet. Go back to Step 2.
Step 4 — Try it
Start gemini and paste the first-task request.
To remove it: gemini mcp remove agenttx.
Windsurf
Step 1 — Copy your settings
agenttx connect windsurfCopy the settings block it prints.
Step 2 — Add them to Windsurf
- Open the MCP settings: click the MCPs icon at the top right of the Cascade panel, or go to Settings → Cascade → MCP Servers.
- Open the raw configuration file,
~/.codeium/windsurf/mcp_config.json. - Paste the block (or just the
"agenttx": { … }entry, if the file already has"mcpServers"), and save.
Step 3 — Restart and check
Restart Cascade. agenttx should now appear in the MCP servers list. Then paste the first-task request into Cascade.
Any other MCP app
AgentTx works with any app that supports local (stdio) MCP servers. Give the app:
| Setting | Value |
|---|---|
| Transport / type | stdio |
| Command | the full path from agenttx connect (for example /Users/you/.agenttx/bin/agenttx) |
| Arguments | mcp |
Optional arguments: --home <folder> changes where AgentTx keeps its data, and --workspace <folder> changes which folder fs.write can use.